Dattatraya Harchekar, Author at Get WPFixed - Page 2 of 3

Localhost WordPress WP Admin: How to Access Your Dashboard (2026 Guide)

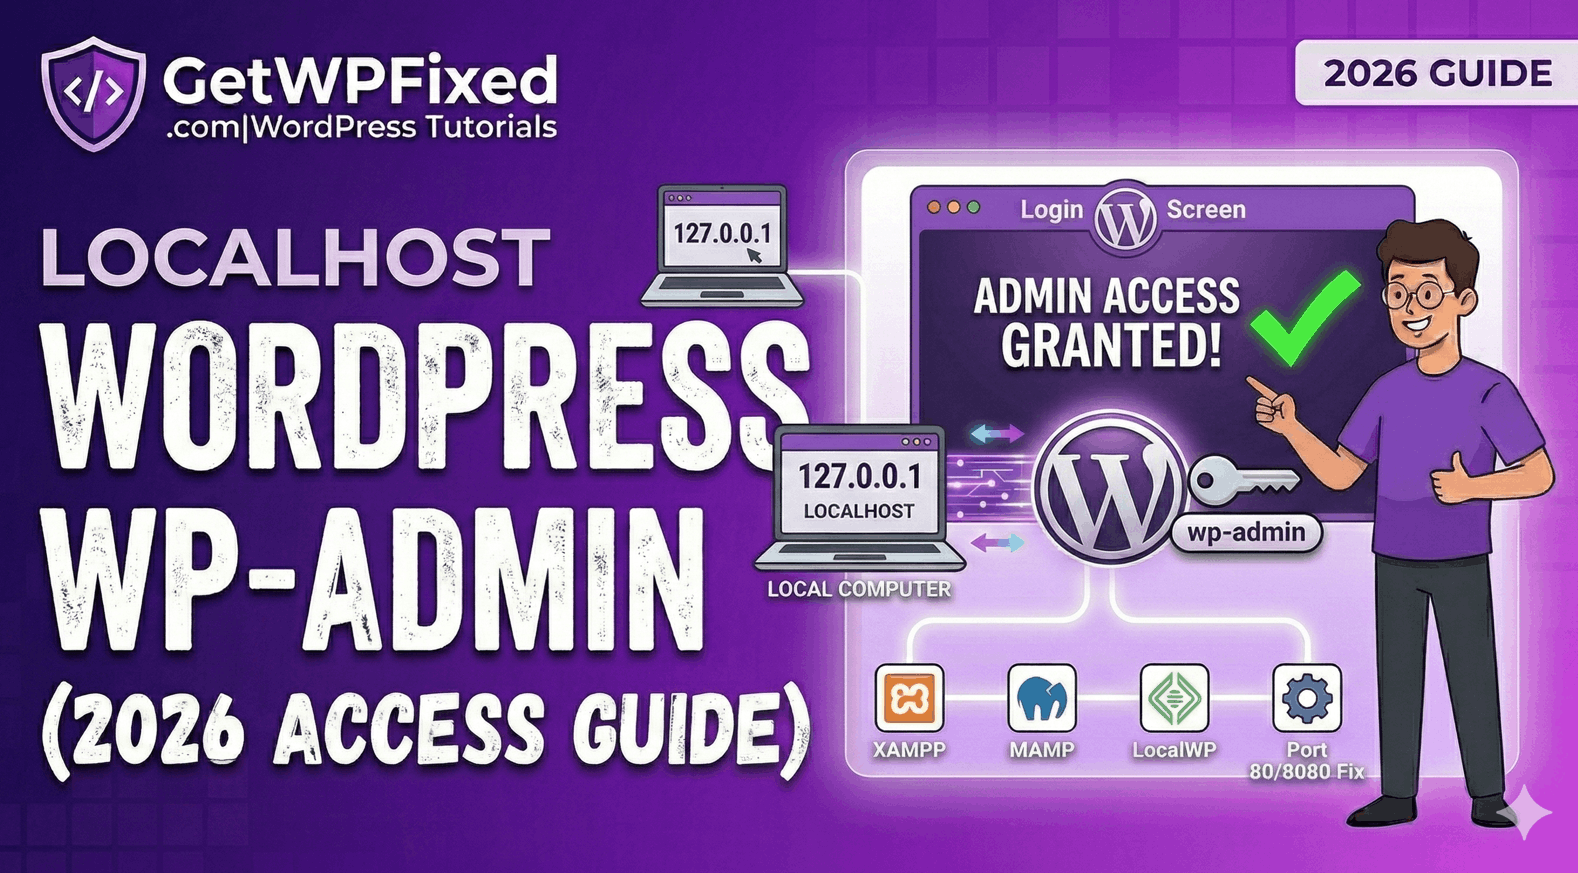
Troubleshooting localhost wordpress wp admin access on XAMPP and LocalWP

Trying to access your localhost wordpress wp admin panel only to find a ‘404 error’ or a blank screen is incredibly frustrating. Whether you are a US developer staging a new project or a student in India learning the ropes, getting back into your local dashboard is the first priority. At GetWPFixed, I’ve found that most local login issues come down to three simple technical hitches.” Here is my 2026 checklist to get you back into your local dashboard in under 60 seconds. 1. Check Your Local URL Structure When your site is live, it’s usually website.com/wp-admin. On a local server, the path depends on how you named your folder. The Fix: If you are using XAMPP, your URL is likely: http://localhost/YOUR_FOLDER_NAME/wp-admin If you are using LocalWP, it might be a custom domain like: http://mysite.local/wp-admin Pro Tip: If localhost doesn’t work, try using the local IP address: http://127.0.0.1/YOUR_FOLDER_NAME/wp-admin. Sometimes the browser gets confused by the word “localhost.” 2. Solving Port Conflicts for Localhost WordPress WP Admin If you have other software running (like Skype or a work VPN), they often “steal” the port that WordPress needs. If this happens, your localhost wordpress wp admin won’t load because the server can’t start. The Fix: Check your server dashboard (like the XAMPP Control Panel). If you see that Apache is running on port 8080 or 8888 instead of 80, you must include that number in your URL: http://localhost:8080/wp-admin 3. Verification in phpMyAdmin for Localhost WordPress WP Admin If you changed your site’s folder name, WordPress might still be trying to find the old one. This is a common “Pro” level error. The Pro Fix: 1. Open your local phpMyAdmin (usually at http://localhost/phpmyadmin). 2. Find your site’s database and open the wp_options table. 3. Look for the siteurl and home rows. 4. Ensure the path matches your current local folder exactly. If it says http://localhost/old-name, change it to http://localhost/new-name. 4. Moving from Localhost to Live Once you finally log into your localhost wordpress wp admin and finish your masterpiece, you’ll eventually need to show it to the world. Moving a site from a local computer to a US or UK server requires careful migration to avoid “Database connection errors.” (I’ll cover the best migration tools in my next post!) Final Thoughts Accessing your local dashboard should be the easiest part of your day, not the hardest. By double-checking your URL structure and port numbers, you can get back to building. Still stuck on a “Database Connection Error” on your local machine? Tell me which local server you are using (XAMPP, MAMP, or LocalWP) in the comments and I’ll help you troubleshoot!

How to Get a 90+ Score on PageSpeed Insights (2026 Guide)

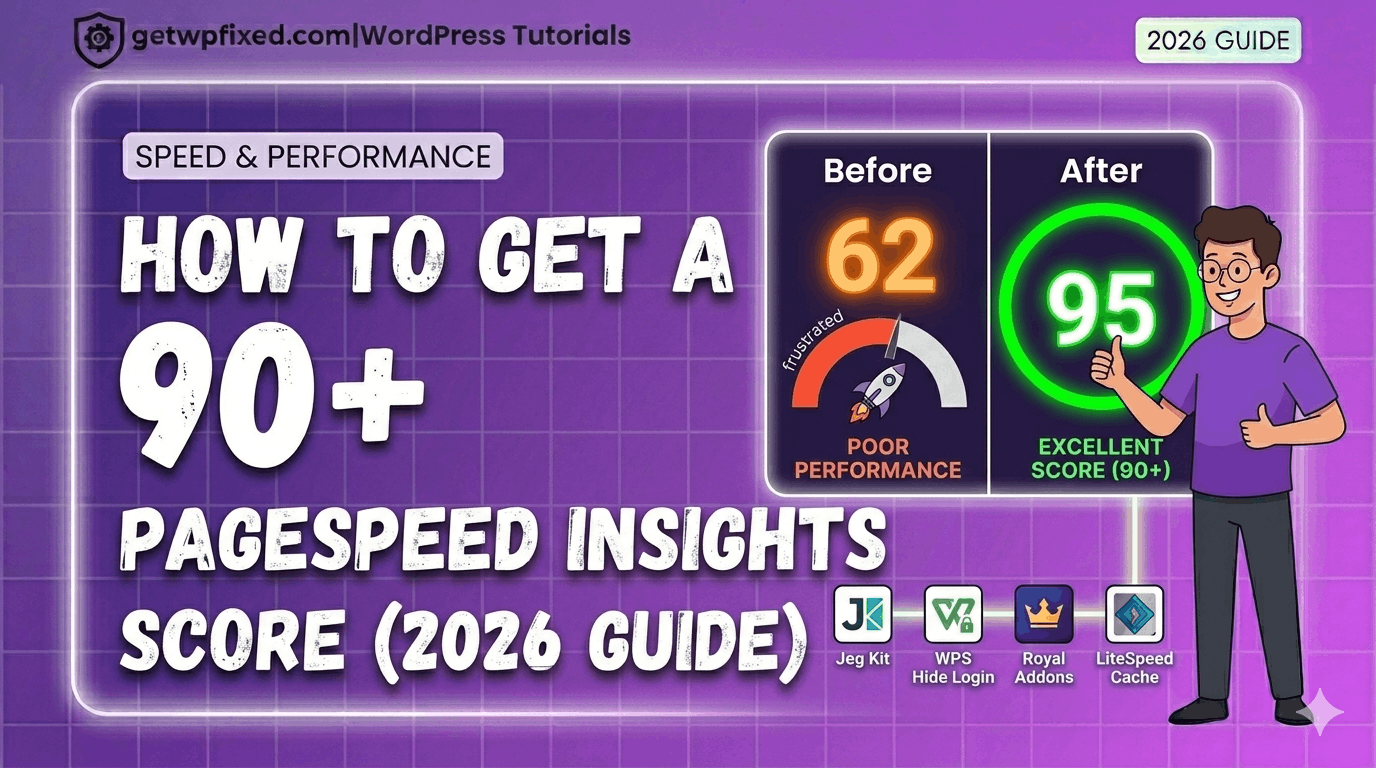
PageSpeed Insights 95 score result for GetWPFixed WordPress tutorial

Achieving a top score on PageSpeed Insights for both mobile and desktop is the goal of every developer. If you want to achieve a 90+ score on PageSpeed Insights in 2026, you don’t need to be a coding expert. I recently took my own site, GetWPFixed, from a struggling 62 to a lightning-fast 95 on mobile and 91 on Desktop In this 2026 guide, I’m going to show you the exact “real world” steps I took to achieve this score on PageSpeed Insights. No fluff, no expensive plugins—just the technical fixes that actually matter. Why a High Score on PageSpeed Insights Matters in 2026 Google doesn’t just look at your keywords anymore; they look at your “Core Web Vitals.” If your site is slow, Google will push you down in the search results. A high score on PageSpeed Insights means: Step 1: Solving the “LCP” (Largest Contentful Paint) Issue In my “Before” test, my LCP was over 10 seconds. That is a disaster! LCP is basically the time it takes for your biggest image or text block to show up. The Fix: I went into my Elementor settings and enabled “Optimized Image Loading.” This tells the browser to prioritize the featured image (the LCP element) and give it “High Priority” loading. Instantly, my score began to climb. Step 2: Eliminating Render-Blocking Resources “Render-blocking” is just a fancy way of saying “the browser is waiting for a piece of code to load before it shows the website.” The Fix: I used the LiteSpeed Cache plugin (standard for modern 2026 hosting) to “Minify” and “Combine” my CSS and JS files. This shrinks the code and makes it much easier for Google to read your site quickly. Step 3: Hosting Your Fonts Locally By default, WordPress often “calls” Google’s servers to get your fonts. This adds an extra delay. The Fix: In Elementor < Editor < Settings < Performance tab , I turned on “Load Google Fonts Locally.” Now, the fonts live on my server, saving precious milliseconds and helping me reach that green score on PageSpeed Insights. Step 4: Converting to Next-Gen Image Formats (WebP) Old-fashioned JPEG and PNG images are too heavy for 2026. The Fix: I used Cloud Convert Website to turn every image into WebP. This reduced my image file sizes by nearly 80% without losing any quality. If you want a deep dive on this, check out my post on how to fix a slow Elementor website. Step 5: The “95 vs 100” Reality Check Many people waste weeks trying to get a 100/100. As you can see from my own results, I hit 95. Is 100 better? On paper, yes. But in reality, a 95 means your site is incredibly fast for humans. To get a 100, I would have to remove my logo or disable important scripts. A green score is a win—don’t obsess over perfection! Mastering Your Score on PageSpeed Insights for Desktop While we focus on Mobile for Google, your desktop visitors expect instant loading. Because desktop screens are larger, your Largest Contentful Paint (LCP) is often a massive hero image. Always ensure your desktop-only background images are compressed and served in WebP to maintain that 98+ score. Final Thoughts Improving your score on PageSpeed Insights isn’t about one single “magic button.” It’s about 4 or 5 small, smart technical choices. By following this 2026 roadmap, you can stop panicking about red numbers and start enjoying a fast, professional website. Is your site stuck in the orange or red zone? Paste your URL in the comments below, and I’ll tell you exactly which “Render-blocking” resource is slowing you down!

How to Create a Professional WordPress Website from Scratch (2026 Guide)

Step-by-step guide showing how to create a professional WordPress website with Hello Elementor and Jeg Kit 2026

If you want to create a professional WordPress website in 2026 without spending thousands of dollars, you are in the right place. Welcome to the ultimate guide where I, Dattatraya, will show you how to build your dream site from scratch. The good news? In 2026, you do not need to be a coding genius or have a $5,000 budget. You just need a plan. At GetWPFixed, I am all about simplifying the complex. I’ve seen thousands of people start their sites, and I know exactly where they get stuck. Forget the “get-rich-quick” tutorials. This is a real, human, honest roadmap. By the end of this guide, you will know exactly how to create a professional WordPress website that is fast, secure, and ready to dominate your niche. Let’s get you fixed! The “Dattatraya Philosophy”: Free but Pro Before we start, I need to tell you my one rule for this guide: We will utilize powerful FREE tools to get a premium result. Many “experts” in 2026 will tell you that you must buy Elementor Pro, a premium theme, and five different “Pro” addons to get a high-quality site. That is incorrect. My 10-step method will show you how to use a standard theme like Hello Elementor, powerful free addons like Royal Elementor Addons, and advanced free designers like Jeg Elementor Kit to build a site that looks like it cost thousands of dollars. Here is your 10-step roadmap to creation. Part 1: The Invisible Foundation (Hosting & Install) Step 1: Secure your Domain & Hosting (Your 2026 Check) Think of your Domain (e.g., getwpfixed.com) as your street address, and Hosting as the actual physical house. You must own your domain, and your hosting is the most critical technical choice you will make. In 2026, do not accept cheap, outdated hosting from a “big name” host. Technology has moved on. If your host doesn’t offer this specific 2026 checklist, move on: These specs are the foundation for a fast site. Remember our core principle: optimizing performance is the key to having a successful site, and it all starts here, just like I discussed in my how to fix a slow Elementor website guide. Step 2: Install WordPress (The One-Click Way) Almost every modern host offers a “One-Click WordPress Install” or an “Auto-Installer.” It usually looks like a large blue button in your hosting control panel. Use it. Step 3: Cleanup and Basic Settings When you log in for the first time (yourdomain.com/wp-admin), you will see some sample content. Be ruthless: Finally, go to Settings > Permalinks. Change this setting to “Post Name.” This ensures your URL looks like mysite.com/about instead of mysite.com/?p=123. It’s cleaner for users and critical for SEO. Part 2: Design & Content (The Vision) Step 4: Choose a “Speed-First” Theme Choosing the right theme is the first major decision you make when you create a professional WordPress website. Elementor is your “designer,” not your theme. You need a simple “blank canvas.” For this guide, I highly recommend installing the free Hello Elementor theme. It is a “minimalist shell” designed specifically to let Elementor do the work, without adding extra code that can slow your site down—a critical choice if you want to fix slow Elementor website issues later. Step 5: Using Elementor and Jeg Kit to Create a Professional WordPress Website This is where the magic happens. We need our design team: Why Jeg Kit? This is my “pro hack” for 2026. The free version of Elementor locks you out of designing your site’s header and footer. Jeg Elementor Kit unlocks these exact “Pro” features for free. It lets you create custom headers, footers, and archive pages, and includes dozens of stunning, pre-made template kits that you can import with a single click. Part 3: The Technical Standard (Security & Speed) Step 6: Install the Essential Must-Have Plugins You are ready to activate the tools that will power your site. This is a common point where beginners overload their sites, so we will be minimalist. Refer back to my list of 7 essential must have plugins for a complete guide. For this creation roadmap, ensure you install these three immediately: Step 7: Finalize Performance Optimization A slow site will fail, regardless of how good it looks. With LiteSpeed activated, go to Elementor > Settings > Performance and enable the native experimental features for improved asset loading. Also, ensure you have a plugin like Converter for Media installed to serve efficient WebP images. These are the steps I detailed to fix slow Elementor website performance, and they are not optional in 2026! Step 8: Complete Foundational Security Your site is now a target. We must harden the defenses. Remember what we learned about securing your entrance? Part 4: Building the Framework (The Pages) Step 9: Create Your “Core” Pages Your site needs structure. Go to Pages > Add New and create five pages with these standard titles (we won’t design them yet, just create the structure): Crucial Link: Go to Settings > Reading. Change “Your homepage displays” to “A static page.” Select your newly created “Homepage” for the homepage and “Blog” for the posts page. Now that your pages are ready, you can see how easy it is to create a professional WordPress website using free tools. Step 10: Launch Your First Post & Submit Your Sitemap Go to Posts > Add New and write your very first blog post! Tell your audience what your site is about and what they can expect. Share your passion, but remember that security is key, even when launching content. If you’ve been working on routine maintenance and see an error, don’t panic! Check out my guide if your WordPress is stuck in maintenance mode to get back online in minutes. Once your post is published, go to your Rank Math SEO settings, find the Sitemap settings, and copy your Sitemap URL (usually sitemap_index.xml). You must submit this URL to your Google Search Console account so Google can officially index your … Read more

7 Essential Must-Have Plugins for Every New WordPress Site (2026 Guide)

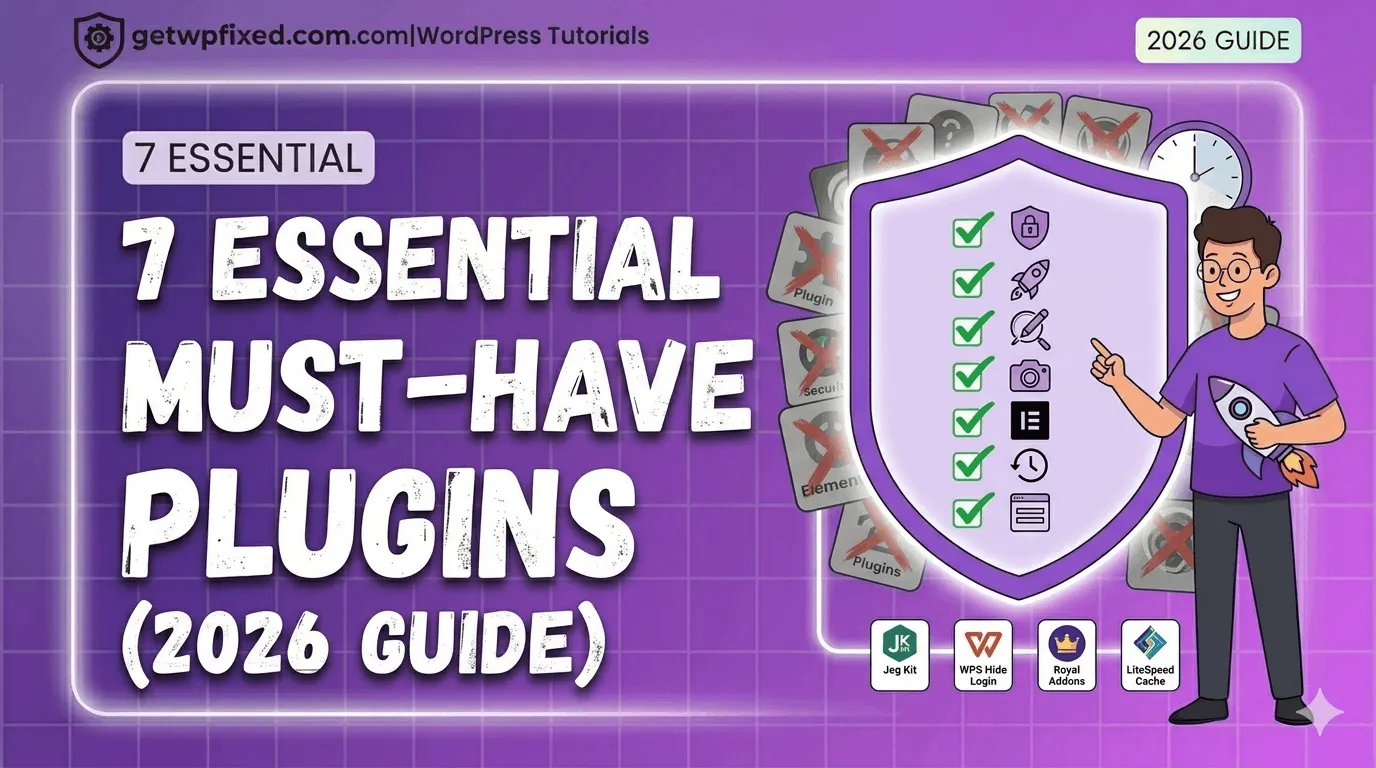
7 Essential Must-Have Plugins for WordPress 2026 Guide by GetWPFixed

Don’t let your new site get bloated with useless tools; instead, focus on these 7 essential must-have plugins for speed, security, and design. Many beginners make the mistake of installing too many plugins, but at GetWPFixed, I recommend a minimalist approach to keep your WordPress engine running perfectly. Here is my definitive 2026 guide to the only seven essential must have plugins that every new WordPress site should install immediately. Why You Need These Essential Must-Have Plugins for Growth You might be wondering, “Why can’t I just build my site without plugins?” You absolutely can. But plugins are what turn a basic blogging platform into a fully functional business tool, an online store, or a professional portfolio. These seven essential must have plugins are not just nice to have; they are the foundation for: Let’s look at the absolute must-haves. 1. The Design Powerhouse: Jeg Elementor Kit WordPress is built on blocks (Gutenberg) now, but for true visual, drag-and-drop design, Elementor is the king. However, to get the advanced header and footer designs you want, you need the Pro version… unless you have the right free addon. Why it’s an Essential Must-Have Plugin This is my top recommendation for design in 2026. Jeg Elementor Kit allows you to build custom headers, footers, and archive pages for free, a feature usually locked behind a $50/year Pro subscription. It is lightweight, stable, and includes beautiful, pre-made template kits that you can import with a single click to get a professional look instantly. 2. The Speed Machine: LiteSpeed Cache / WP-Optimize In 2026, a slow website is an invisible website. If your site takes more than 3 seconds to load, half of your potential visitors will click back and find a faster competitor. This makes a caching plugin your number 1 technical requirement. Why it’s an Essential Must-Have Plugin This plugin creates a static snapshot of your pages, so your server doesn’t have to rebuild them for every single visitor. A fast site is critical, as I detailed in my recent post about how to fix a slow Elementor website. 3. The Front Door Lock: WPS Hide Login Security is not optional in 2026. The reality is that automated bots are knocking on the front door of every single WordPress site in the world, trying to guess passwords. Why it’s an Essential Must-Have Plugin The default login address for every WordPress site is /wp-login.php or /wp-admin. Everyone knows this, including hackers. WPS Hide Login is a lightweight, one-click solution that lets you change your login URL to something secret, like /dattatrayas-door or /super-secret-entry. By making your login page hidden, you instantly stop 99% of brute-force bot attacks. This is an incredible boost to your security with zero effort. We’ve covered this and other vital security steps in my guide to how to secure your WordPress login. 4. The Google Roadmap: Rank Math SEO You cannot just publish content and hope people find you. You need Search Engine Optimization (SEO). While many people stick with Yoast, in 2026, Rank Math has taken the crown for the best free SEO plugin. Why it’s an Essential Must-Have Plugin Rank Math is like having an SEO expert sitting next to you. It gives you an easy checklist as you write your content, ensuring you have your keywords in your title, headings, and throughout the text. It automatically handles the “behind the scenes” SEO stuff, like generating a Sitemap (the map of your site that you submit to Google). Best of all, it offers advanced features (like Schema markup) for free, which other plugins charge for. 5. The Content Lifeline: UpdraftPlus WordPress Backup Plugin Imagine spending six months building your perfect website, and one morning, a bad update, a server crash, or a mistake on your part wipes everything out. It happens. You need an automated backup system. Why it’s an Essential Must-Have Plugin Don’t rely only on your web host’s backups. You need your own copy. UpdraftPlus is the best free solution. It’s incredibly easy to set up and allows you to create automated backups on a schedule (e.g., daily or weekly). Crucially, it lets you send those backups to an external cloud location, like your Google Drive or Dropbox, completely for free. This means your data is safe, even if your entire web server goes down. 6. The Visual Diet: Converter for Media As I always say at GetWPFixed, massive, unoptimized images are the #1 reason for a slow website. If you are still serving large JPEG or PNG files, you are operating in the past. Why it’s an Essential Must-Have Plugin In 2026, you should be serving your images in the WebP format. WebP files are significantly smaller but look just as good. Converter for Media is a set it and forget it plugin. It will automatically convert all of your existing images to WebP and will convert any new image you upload, serving the smaller file to your visitors without changing your original files. It is a critical performance booster that I highly recommend for anyone trying to optimize images for Elementor. 7. The Weight-Conscious Widget: Royal Elementor Addons Wait, didn’t we already have a design plugin? Yes. But Royal Elementor Addons deserves its own essential spot. While Jeg Kit is amazing for the overall theme structure, you often need specific, fancy widgets (like a “Comparison Slider” or an “Image Hotspot”) that the standard Elementor free version doesn’t include. Why it’s an Essential Must-Have Plugin The problem with most addon packs is that they are bloated. They load hundreds of lines of code on every page, even if you are only using one widget. Royal Elementor Addons is built specifically with speed and clean code in mind. Its template library is beautifully designed and incredibly fast, which I highlighted as a key choice in my recent list of best free theme builder plugins. If you want complex design features without sacrificing performance, this is a must-have. Final Thoughts: The Goal is to Be … Read more

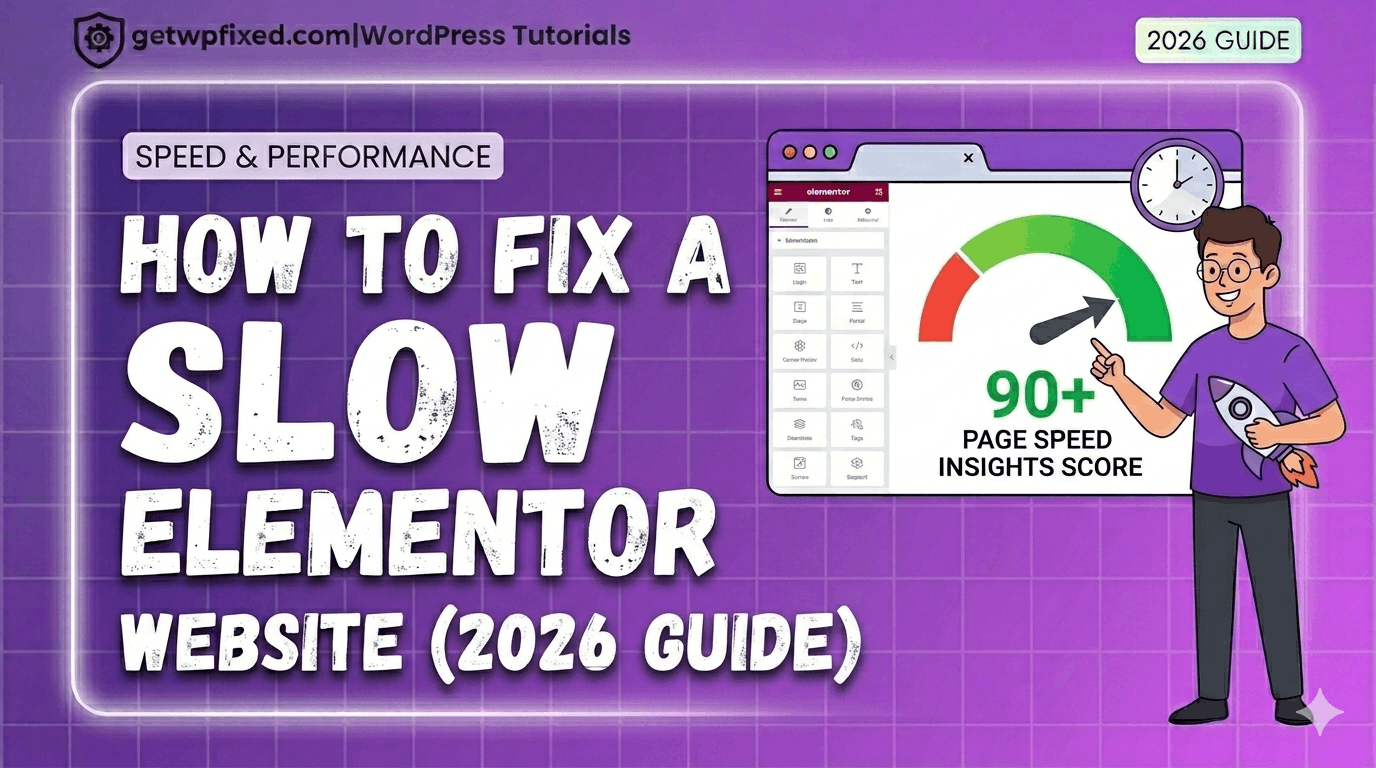
How to Fix a Slow Elementor Website in 2026 (90+ PageSpeed Score)

Expert guide to fix slow Elementor website speed and performance

I love Elementor, but if your pages take forever to load, you need to fix slow Elementor website performance issues immediately. It’s a common frustration: you add a few widgets and suddenly your Google PageSpeed score is in the red. At GetWPFixed, I’m all about speed, so let’s look at the deep-dive steps I use to get your site flying in 2026. 1. Using Built-In Settings to Fix Slow Elementor Website Issues Many users don’t realize that Elementor has built-in performance “switches” that are turned off by default. Over the last year, the developers have added several “Experiments” that are now stable features. Also read: How to Fix Elementor Widget Panel Not Loading (2026 Guide) 2. Ditch the “Heavy” Addon Packs We all love adding extra widget packs to get those cool sliders or fancy buttons. But here is the truth: every addon plugin you install adds “weight” (CSS and JavaScript) to your site. This is why I always recommend Royal Elementor Addons. As I’ve mentioned before, I prefer this plugin because its templates are built to be lightweight and fast. If you have five different “Addon” plugins installed, you are likely slowing your site down by 20–30%. Choosing lightweight tools like Royal Addons is a smart move when you want to fix slow Elementor website bloat caused by too many plugins. 3. Mastering Image Optimization (Stop Using 5MB Files!) This is the #1 reason for a slow site in 2026. If you upload a high-resolution photo from your phone directly to your homepage, your site will be slow. Optimizing your media is the fastest way to fix slow Elementor website lag caused by oversized images. 4. Choose a “Speed-First” Theme Foundation Think of Elementor as the “paint and furniture” of your house. Your WordPress Theme is the “foundation.” If the foundation is heavy and bloated, the house will struggle. I’ve seen many people use heavy premium themes and then put Elementor on top of them. That’s like wearing two heavy coats in the summer! 5. Use Lightweight Caching Plugin to fix slow Elementor website In 2026, you don’t need a complicated caching setup. If your host uses a LiteSpeed server (which many affordable hosts do), use the LiteSpeed Cache plugin. It is specifically designed to talk to the server and deliver your pages in milliseconds. If you aren’t on LiteSpeed, WP-Optimize is a fantastic free choice. It cleans up your database (getting rid of old “revisions” of your posts) and handles file minification. Minification is just a fancy word for “shrinking your code” so it’s easier for browsers to read. 6.My Suggestion: Check Your Hosting Spec You can optimize your site all day, but if you’re on a $1-per-month shared hosting plan from 2015, you’ll never be truly fast. In 2026, technology has moved on. Ensure your host offers: Final Thoughts A fast website isn’t about speed only; it’s about user experience. If your site takes more than 3 seconds to load, half of your visitors will leave before they even see your content. Follow these six steps to fix slow Elementor website performance and keep your visitors happy with lightning-fast load times. Is your site still feeling sluggish after trying these steps? Drop a comment below with your URL, and I’ll take a quick look to help you get GetWPFixed!

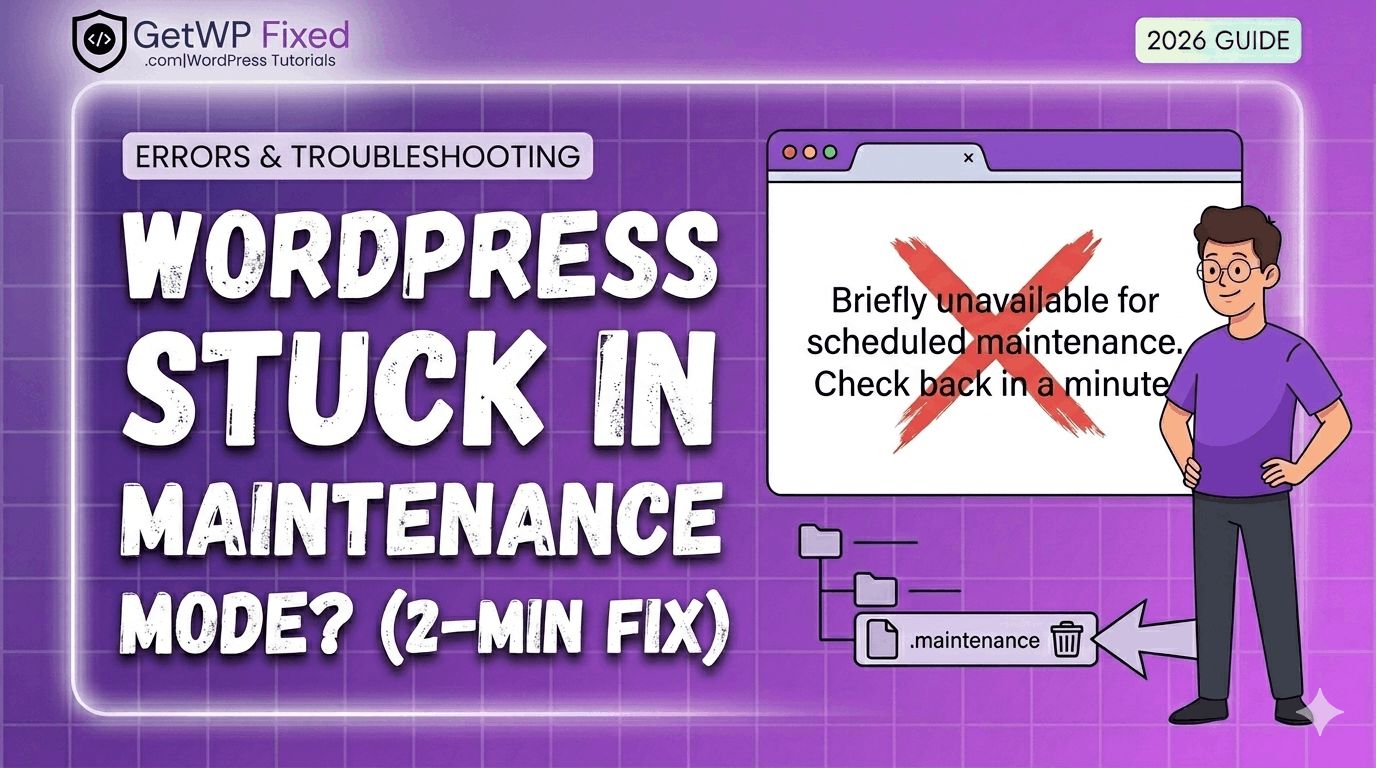
WordPress Stuck in Maintenance Mode? (Don’t Panic, Here’s the 2-Minute Fix)

WordPress stuck in maintenance mode

We’ve all been there. It’s 10:00 PM, you’re just finishing up some routine site maintenance, and you see that red “Update” bubble on a plugin. You think, “I’ll just click this quickly before I log off.” You click Update. Your screen refreshes. And suddenly, your entire website—your beautifully designed homepage, your valuable blog posts, your online store—is gone. It’s replaced by a single, terrifying line of plain, white text on a blank screen: “Briefly unavailable for scheduled maintenance. Check back in a minute.” Ten minutes go by. You check back. It’s still there. You try your admin dashboard. It’s blocked, too. Panic starts to set in. At GetWPFixed, I see this issue almost every week. If this is happening to you right now, the first thing I want you to do is take a deep breath. I promise you didn’t break your website. Your data is safe. This isn’t a hack, and it’s not a server crash. It’s just a tiny, stubborn “ghost” file that didn’t delete itself correctly. This is my definitive 2026 guide to resolving this error. By the end of this post, you will understand exactly why this happens, how to fix it in two minutes (most of the time), and how to prevent it from ever happening again. Let’s get your site back online. Part 1: Why Does WordPress Get Stuck in Maintenance Mode? (The Science Behind the Error) To fix the problem permanently, it helps to understand what’s happening behind the scenes. This error is actually a feature, not a bug. 1.1 The Maintenance Mode Process When you click the update button for a core WordPress file, a theme, or a plugin, WordPress needs a “safe space” to make those changes. It can’t have live users navigating the database while it’s trying to rewrite its core files. Here is the four-step “Handshake” process that should happen: 1.2 The Failure: What Went Wrong? The problem occurs when Step 3 finishes but Step 4 fails. The update completes, but the handshake gets “confused,” and the .maintenance file is never deleted. Your site remains locked, still displaying the “DO NOT DISTURB” sign. The most common reasons for this failure are: Now that we know why we are stuck, let’s fix it. Part 2: The Easiest Fix (Try This First) Before we start messing with files and code, try the simplest “non-techy” solutions. There is a 90% chance one of these two steps will fix it instantly. Fix #1: Force Refresh (The Hard Refresh) Sometimes, your site is actually already fixed, but your browser is still showing you a “cached” version of the error. A standard refresh won’t work. You need to tell your browser: “Forget everything you think you know about this URL, and load a fresh version from the server.” This is called a “Hard Refresh” or “Clear Cache for this Page.” Fix #2: Clear Your Browser Cache and Cookies If the hard refresh didn’t work, your browser might be stubbornly clinging to the memory of that error page in its cookies. Try opening your site in an Incognito or Private window. If it loads there, you are fixed! Just clear your browser cache and cookies, and your standard window will work again. Part 3: The Technical Fix (Deleting the Stubborn File) If you have tried the “easy fixes” and your site is still showing the maintenance message, you have to get your hands dirty. We need to manually delete that .maintenance file. Don’t panic—this is as scary as it sounds. You just need access to your site’s root directory (the core “filing cabinet” of your WordPress install). What You Will Need There are two ways to do this. I will show you both. Method A: Using CPanel’s File Manager (Easiest Method) If your host uses CPanel (common with hosts like Bluehost, SiteGround, and many others), this is the fastest way to fix the problem. What If I Don’t See the .maintenanceFile? This is a common frustration. In some File Managers, “hidden” files are disabled by default. If you are in the public_html folder and don’t see the file, look for a “Settings” or “Preferences” cog icon (usually in the top-right corner). Click it, and check the box that says “Show Hidden Files (dotfiles).” The .maintenance file should now appear. Method B: Using an FTP Client (The Developer Way) If you don’t use CPanel or prefer to use an FTP client, you can follow these steps. For this example, I am using FileZilla (which is free and safe). Part 4: Advanced Troubleshooting (What If Method A and B Failed?) So, you’ve deleted the .maintenance file, you’ve cleared your cache, and your site is still stuck. This is a much rarer scenario, but it happens. If deleting the file didn’t work, it means that the problem wasn’t the .maintenance file at all—it means your server is physically stuck in the middle of a conflict and doesn’t know how to stop. Here is what you need to do next, in order of likelihood: 4.1 Check Your PHP Memory Limit A very common reason an update fails in 2026 is that the update itself required more temporary “brainpower” (memory) than your host allows. If your site hit its limit, the update process stopped, but the maintenance signal got stuck. You can increase this limit easily by adding a line to your wp-config.php file (the same place you found that .maintenance file!). Open wp-config.php and paste this line just before the text that says “That’s all, stop editing! Happy publishing.”: define(‘WP_MEMORY_LIMIT’, ‘512M’); We have a dedicated [post on fixing memory limit errors] if you need more help with this! Increasing the memory often “nudges” the server to complete the pending processes. 4.2 Manually Deactivate Your Plugins If increasing the memory didn’t work, we must assume that one of your plugins (the one you just tried to update, or another one) is in an active conflict. Since you can’t access your admin dashboard to disable them, we have to do it … Read more

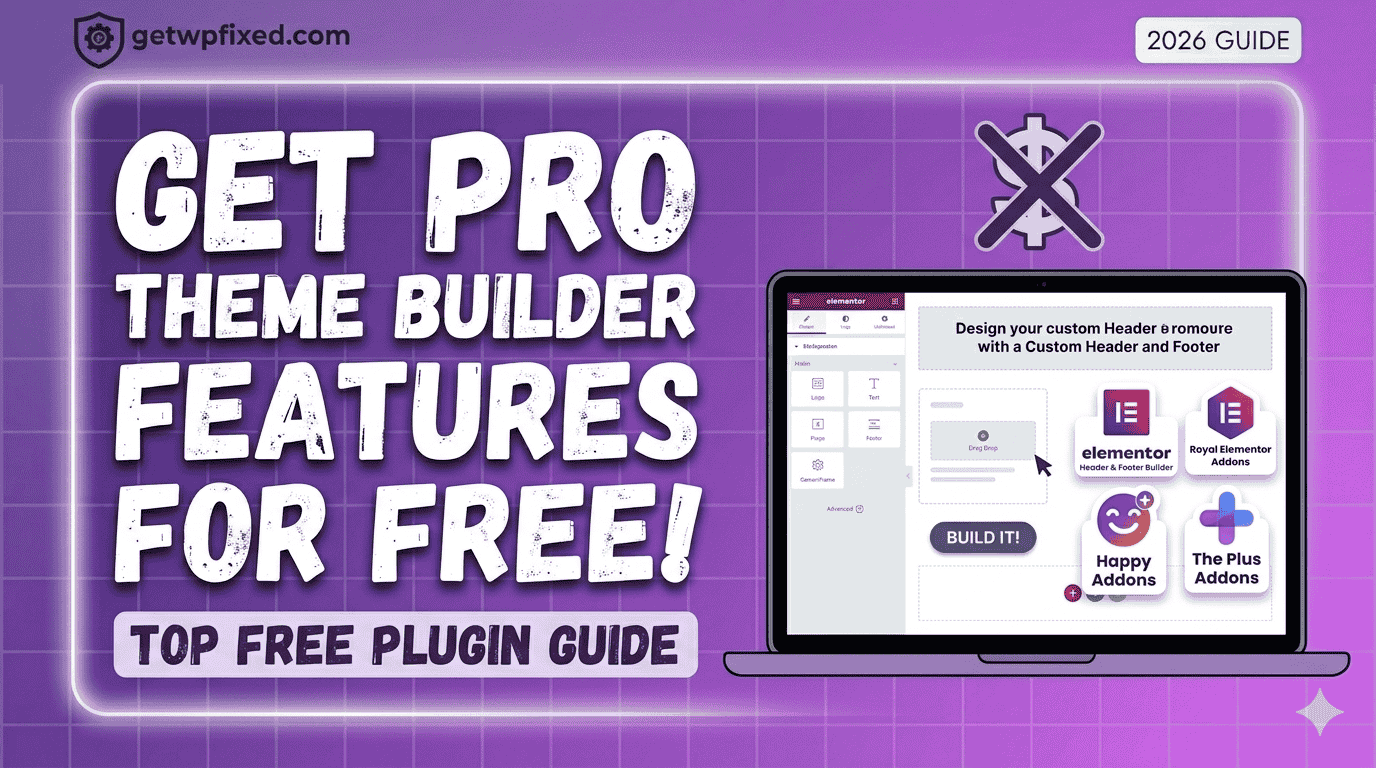
Free Theme Builder Plugins for WordPress (2026)

Free theme builder plugins

Let’s be honest: Elementor Pro is amazing, but not everyone has the budget for it when they are just starting out. The biggest “missing piece” in the free version of Elementor is the Theme Builder—the tool that lets you design your own custom headers, footers, and blog post layouts. If you’ve ever felt “stuck” with your theme’s default header or footer, I have good news. You don’t need to reach for your credit card just yet. At GetWPFixed, I’m all about finding smart workarounds. Here are the best free theme builder plugins that give you Pro power for $0. “Before you start building with these free tools, make sure your editor is working smoothly—if you run into any loading issues, here is my guide to fixing the Elementor loading circle.” 1.Jeg Elementor Kit (My Top Choice) By using Jeg Elementor Kit, you can create beautiful-looking websites with just a single click. The magic here is in their template library—you can import a full, professional-looking design instantly. Personally, I have made lots of websites using this plugin, and it is my preferred choice for every new project I start. It’s fast, reliable, and the free version gives you a surprising amount of power. It includes a dedicated Theme Builder menu where you can visually design your header, footer, and even your 404 pages without touching a single line of code. 2. Royal Elementor Addons By using Royal Elementor Addons, you can create beautiful-looking websites with just a single click. The magic here is in their template library—you can import a full, professional-looking design instantly. Personally, I have made lots of websites using this plugin, and it is my preferred choice for every new project I start. It’s fast, reliable, and the free version gives you a surprising amount of power. 3. Happy Addons If you’re looking for a theme builder that feels “fun” but is incredibly powerful, Happy Addons is a great contender. Their free version includes a “Theme Builder” feature that specifically helps you design custom headers and footers. 4.The Plus Addons for Elementor The Plus Addons is like a Swiss Army knife for WordPress. They offer a “UI Builder” in their free version that lets you customize specific parts of your theme that the standard Elementor free version usually locks away. 5. Why Not Just Use a “Block” Theme? In 2026, WordPress itself has become a “Theme Builder” through Full Site Editing (FSE). If you use a theme like Blocksy or Astra, they have built-in header/footer builders that work alongside Elementor perfectly. Sometimes the “best” plugin is actually just using a better theme! Final Thoughts You don’t need a massive budget to have a professional-looking site. Start with Royal Elementor Addons—it’s stable, fast, and gives you that ‘one-click’ professional finish. While these plugins are great, remember that keeping your site secure is just as important. Check out our WordPress Security Guide to keep your new designs safe.” Are you trying to build a specific custom layout right now? Drop a comment below and let’s figure it out together! Check out my Portfolio.

Fix Elementor Widget Panel Not Loading (2026 Guide)

Fixing the Elementor widget panel not loading error

There is nothing quite like the “design flow.” You’ve got your coffee ready, you’ve got a vision for your landing page, and you click “Edit with Elementor”—only to be met with that endless grey loading circle in the widget panel. It’s frustrating, it’s a time-waster, and honestly, it happens to the best of us. At GetWPFixed, I’ve spent countless hours troubleshooting this exact issue. The good news? Your site isn’t broken. Usually, it’s just a case of your server or a rogue plugin being a bit “stubborn.” Let’s get it fixed so you can actually get some work done. The Most Common Culprit: Memory Limits Think of Elementor as a heavy-duty power tool. If your hosting server is only giving it a tiny “battery” (PHP Memory), it’s going to struggle to start. Most hosting providers set the default limit to 128MB or 256MB. For a smooth Elementor experience, you really want that at 512MB. You can usually fix this by adding a single line to your wp-config.php file: define(‘WP_MEMORY_LIMIT’, ‘512M’); (If you aren’t comfortable touching code, just ask your host’s support to “increase the PHP memory limit to 512″ and they’ll do it in two minutes.) Try the “Safety Switch” Elementor actually knows that some servers are a bit picky about how they load data. Because of this, they’ve built in a “Switch Editor Loader Method.” I’ve seen this solve the loading issue about 40% of the time. Just head over to Elementor > Settings > Advanced and toggle that switch to Enable. It changes how the editor requests data and often bypasses the hang-up entirely. The “One by One” Plugin Test I know, I know—nobody likes doing this. But if the two steps above didn’t work, you likely have a plugin conflict. Disable everything except Elementor. If the panel loads, you know the “villain” is one of your other plugins. Turn them back on one at a time until the loading circle returns. Once you find the one causing the clash, see if there’s an update available or look for an alternative. Still Stuck? Sometimes it’s as simple as your browser being tired. Try opening your site in an Incognito/Private window. If it loads there, you just need to clear your browser cache and you’re good to go. Drop a comment below if you’re still seeing that spinning circle—I’d love to help you figure it out! FAQ Will I lose my design if I increase memory? No, increasing memory only gives your site more power to load the editor; it won’t change your content. Is this a bug in Elementor? Not necessarily. It’s usually just a handshake issue between your server and the software.